4 minutes
Upgrading an Ender 5 - Glass bed, Silent board and BLTouch
tl;dr
I discuss how I installed a glass bed, silent board (v.1.1.5) and BLTouch. This is mostly a record of the resources I found useful at the time of the project.
Glass bed
After reading a few Reddit threads, I struggled to find a conclusion on the best glass to use. Many people used pyrex style glass, and others used plain glass. I decided to use an old Ikea mirror that I had lying around, and in the first instance, I drew around the magnetic bed to get an idea of shape then cut the glass with a tile cutter. I read loads of articles that suggested you should use a proper glass cutter, but the tile cutter worked well. There were some jagged edges, but I was quickly able to tidy those up with a piece of sandpaper.
Bed adhesion
I tried a few prints on the glass without any additives, but they almost all came loose. While I don’t recall the exact source, I remember one chap suggesting they use a 4 to 1 mixture of water to PVA (the kids type). Having just received a craft set for my daughter to keep her entertained during this lockdown period, I felt like that was the best option for now. I’ve heard blue tape and hairspray are equally good, but I had neither at my house. I can say the PVA mix has been exceptional.
Silent Board
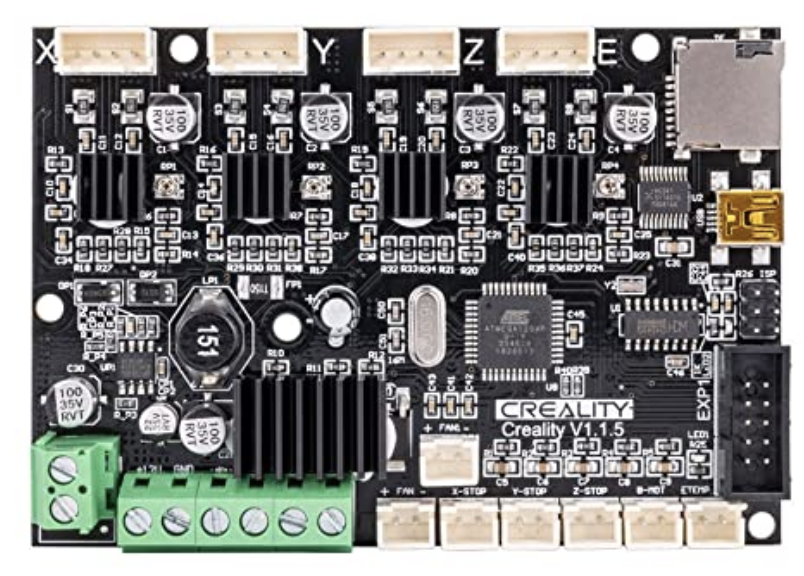
Some additional features that I wanted include the preinstalled bootloader. Installing a bootloader is a real PITA, I did it a few years ago on my Anet A8 and decided I would avoid it this time. Time is money and buying a bootloader board is cheaper than my time. Thermal runaway is another must for me - why such a necessary safety feature isn’t standard is beyond my comprehension. The board also comes with Marlin firmware, but unfortunately, for reasons you will see soon, it was not useful for me.
Installing the board was straight forward. You can follow the tutorial shown below for instructions.
Firmware
The firmware that came with the silent board lasted about 30 seconds. Long enough to test an auto-home and validate the new silent driver, then I flashed it following the instructions below.
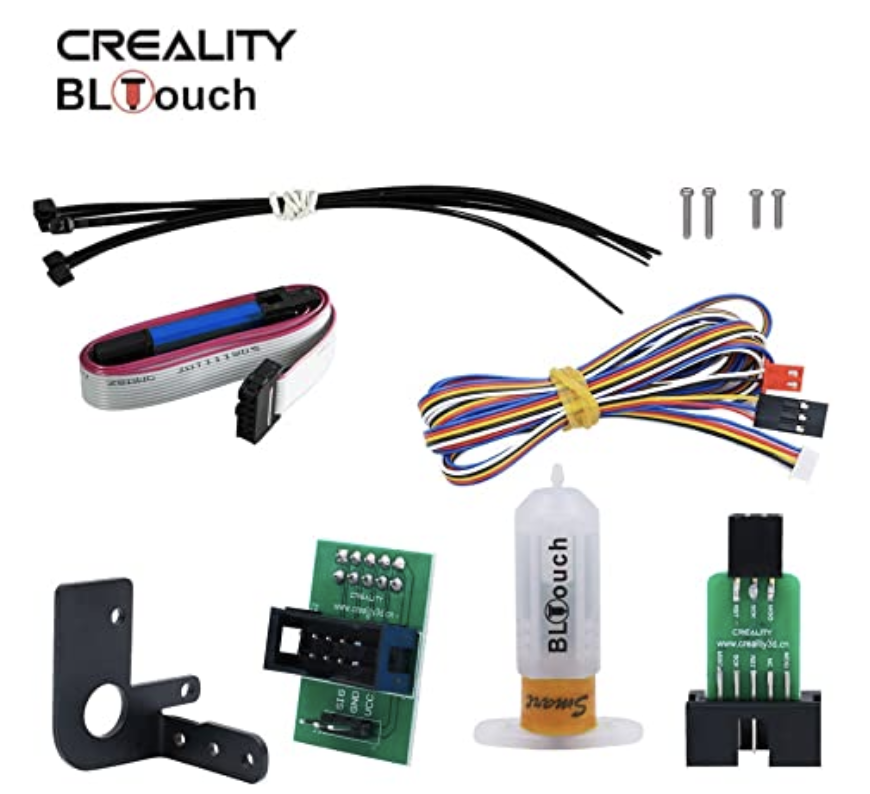
You will notice that is a BLTouch video - that’s why the firmware on the silent board wasn’t fit for purpose.
3D Printing Canada
For some reason, I wasn’t able to get their source code working. The code compiled correctly, but the Z Offset would not move the bed no matter what I did. I have a suspicion that there’s a setting in the configuration.h file that enables minus values for Z Offset that I needed to configure, but I didn’t spot that until after I got something working.
I wasn’t able to get this code working, but that doesn’t mean you shouldn’t try it too. I’m reasonably confident with a bit more patience I could have solved the issue.
TH3D
Once I got back to the drawing board, the firmware that came up most was the TH3D firmware. As a Mac OSX user, I found their guide extremely helpful. Once this bit was done I pretty much just followed the tutorial in the following youtube video.
Note, when he talks about dialling in the Z Offset and using a test print, you can find STL’s in bed levelling STL directory.
The link to the firmware is provided below, but note it may be out of date when you read this:
BLTouch
Whats next?
Currently, TBD, but I think it’s highly likely I will be getting linear rails next.